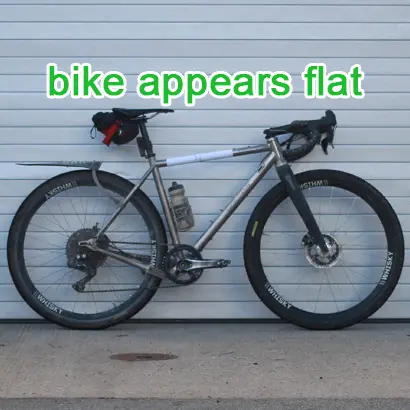
FAST SHIPPING ON IN-STOCK ITEMS.
HANDMADE IN MONTREAL.

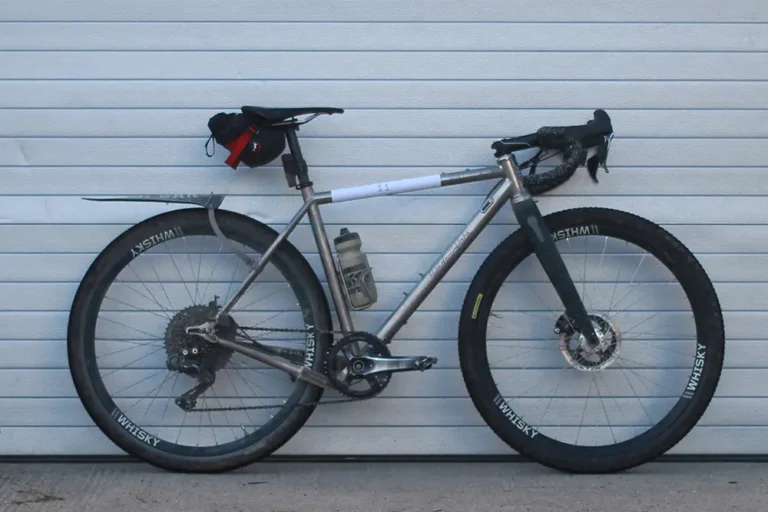
To create the perfect frame bag, we start with the perfect photo.

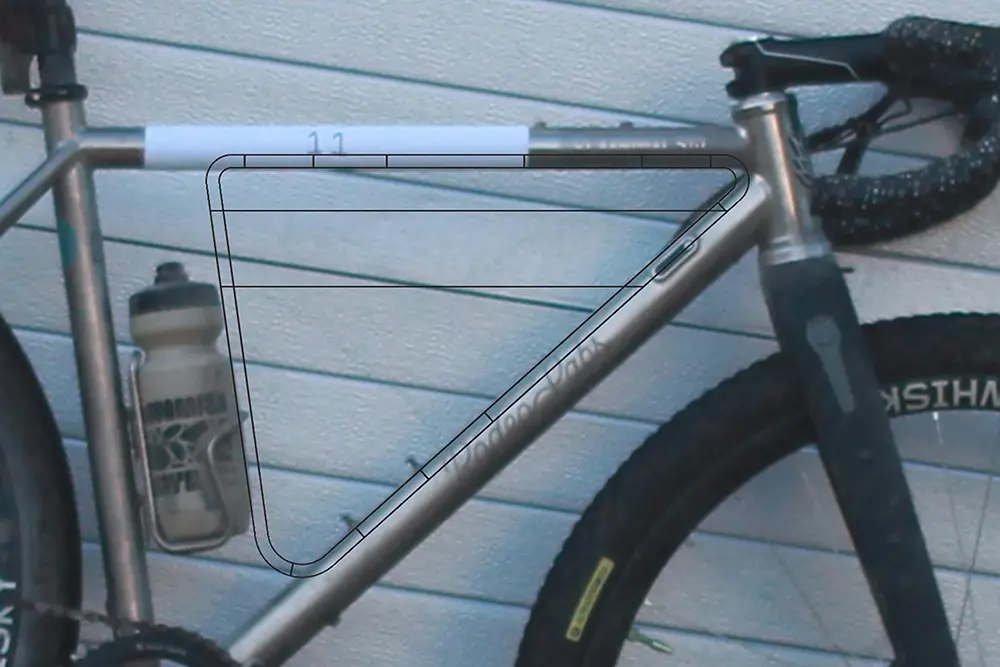
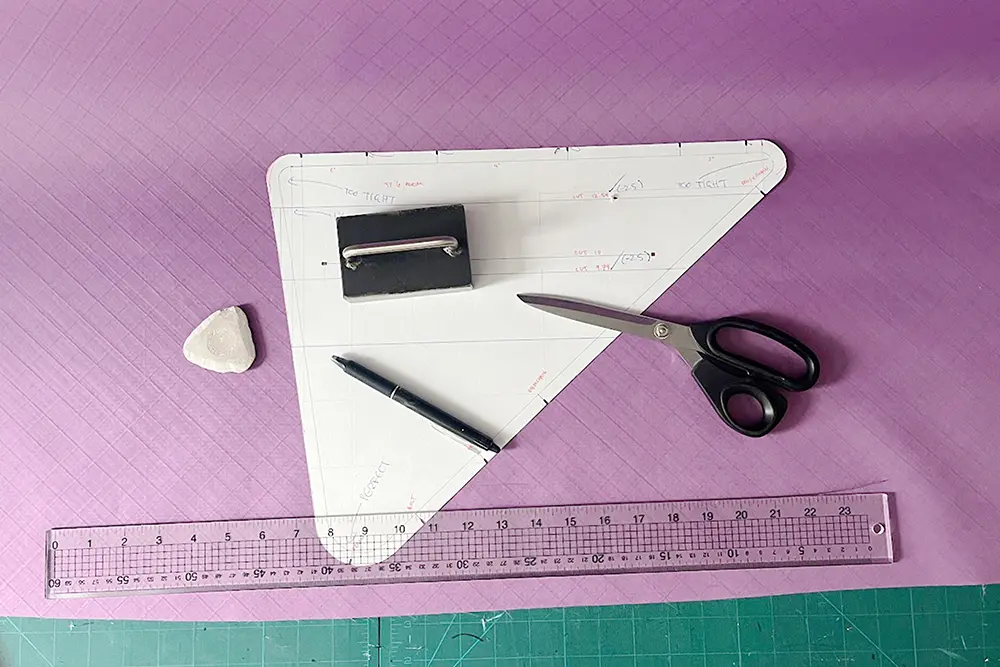
We expertly scale your bike’s image and craft a full-scale pattern, ensuring a flawless fit and a bag tailored just for you.

Instructions:

  1. Place your custom frame bag order
  2. Follow the photo instructions below
  3. Send us your high-resolution, uncropped photo
Template photo
Digitally scaled
Accurate full scale paper template
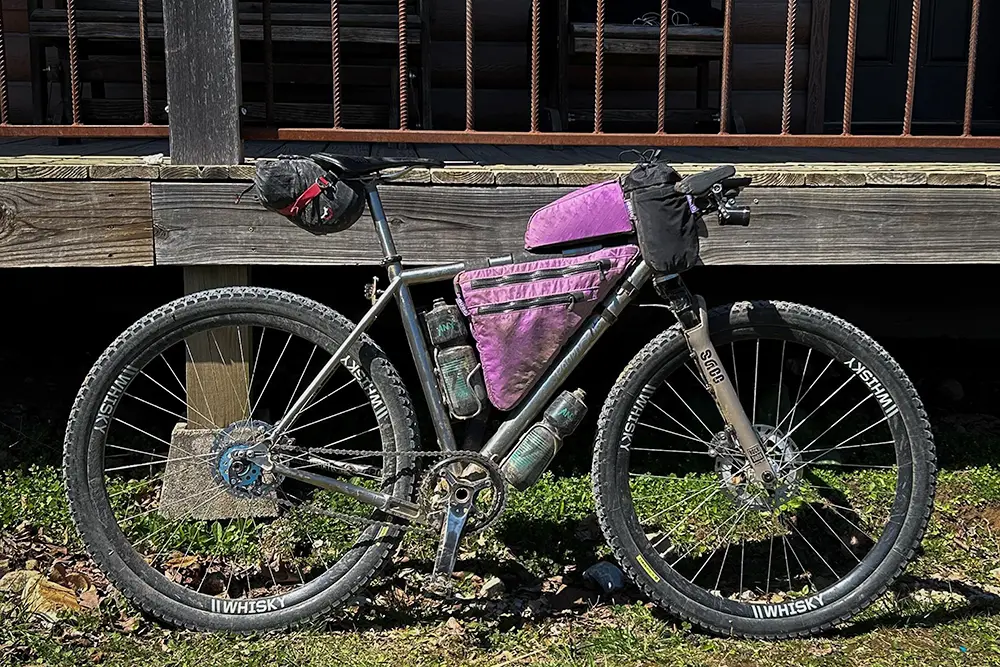
Perfect fit!

You will need:

  • Full-size camera (DSLR, mirrorless) or high-megapixel smartphone (16MP+)
  • Sheet of paper or cardboard (for Step 2)
  • Tape
  • 8-meter (26-foot) measuring tape
  • Marker

Bonus points (make your bag maker happy!):

  • A paper bill
  • A ruler or measuring tape with large, clear markings

Step 1:

Frame preparation.

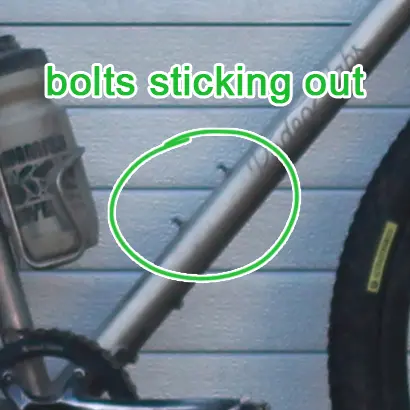
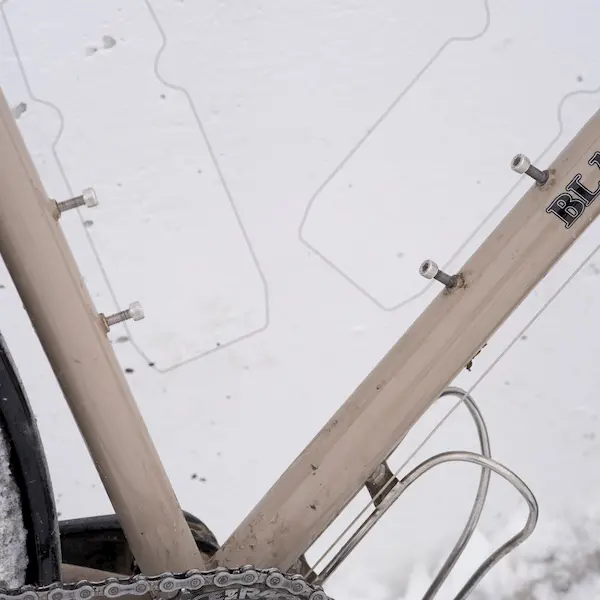
  • Remove bottle cages and partially unscrew the bolts (see photo 1)
  • Install bottle cages and water bottles

We’ll design your bag to fit the available space in your frame.

Want to maximize that space?
We recommend the Wolf-Tooth B-Rad 2 with a lowering cage  to keep your bottles low and increase bag capacity.

Planning to get them later? Let us know, and we’ll digitally adjust the design!

For half bags, we suggest 22oz Purist bottles.
Frame Bag Photo Template Guide
(photo 1) Back out bolts

Step 2:

Scale references.

Remove all bags and accessories from your bike.

Printer paper method:

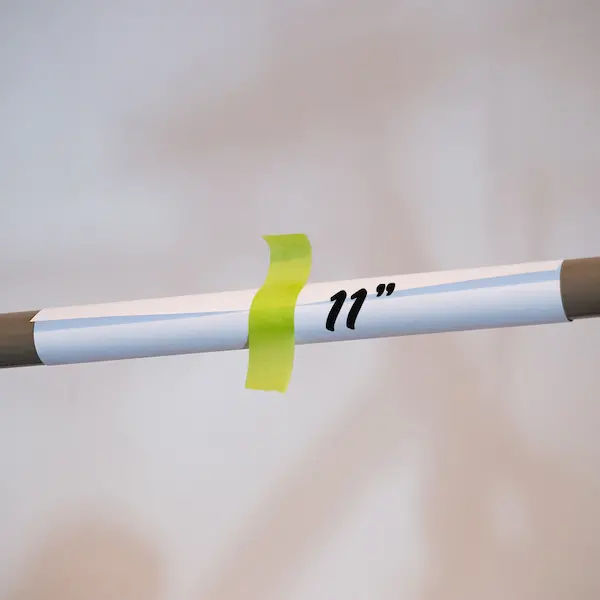
  • Take a standard sheet of printer paper and measure its length
  • For light-colored frames, darken the ends with a marker
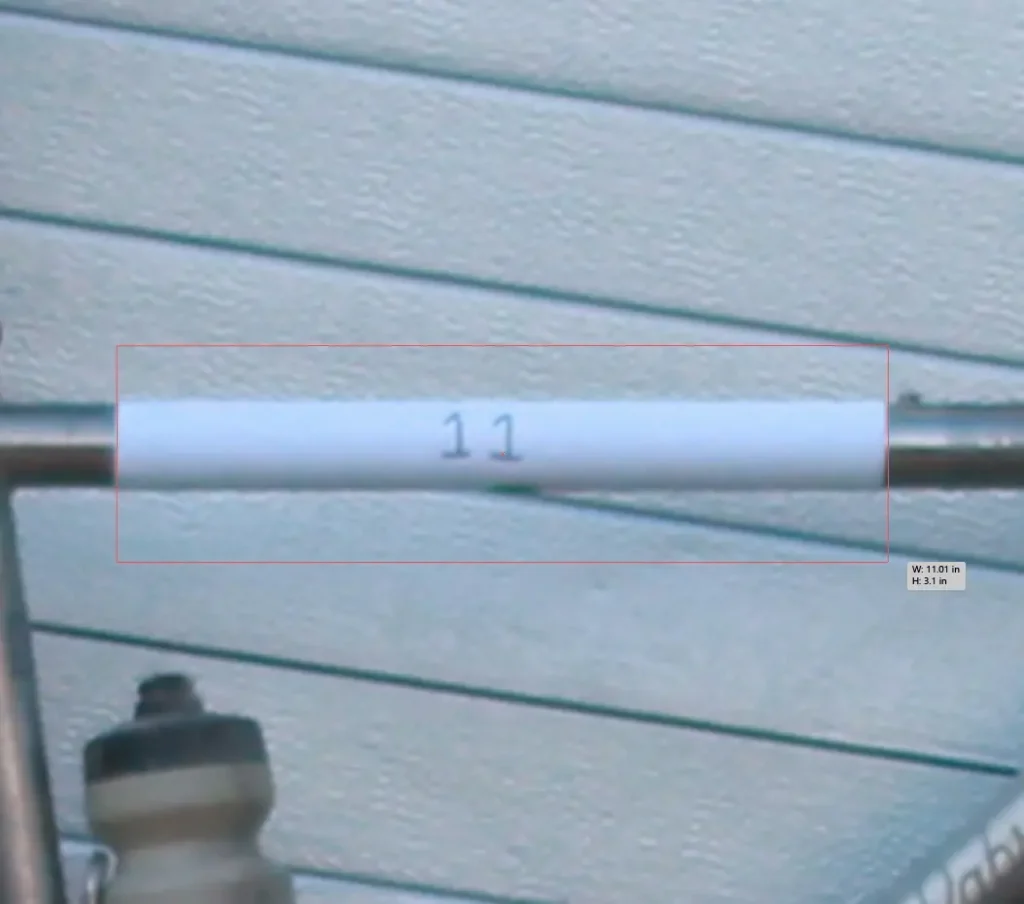
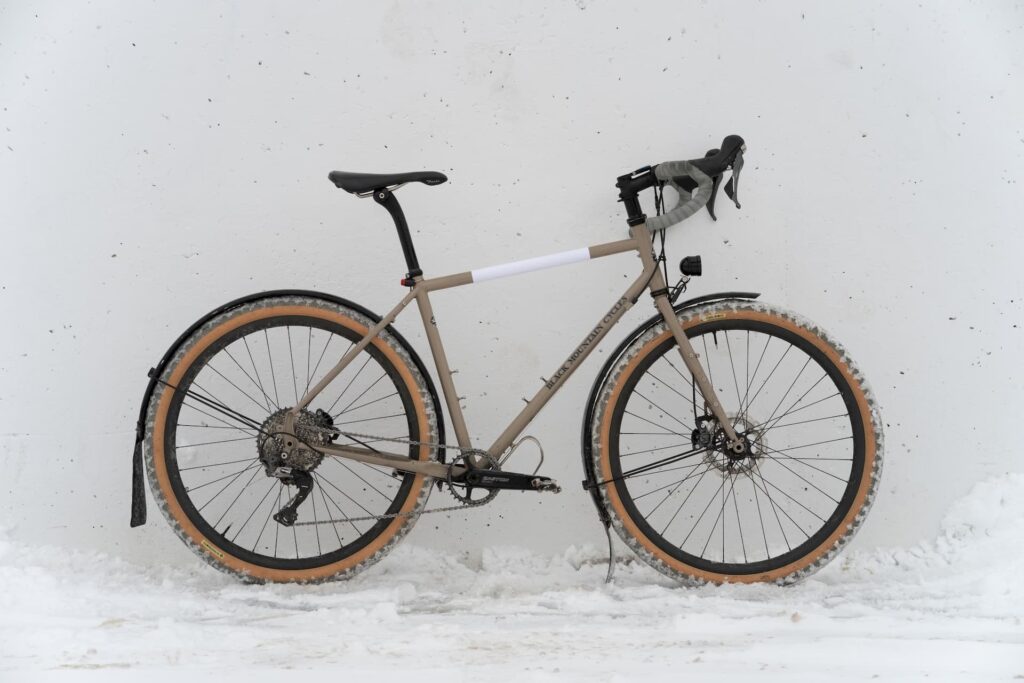
  • Roll the paper tightly around the top tube (or seat tube/down tube) and secure it with tape, placing it under cables if possible
  • Clearly write the measurement on the paper with a marker

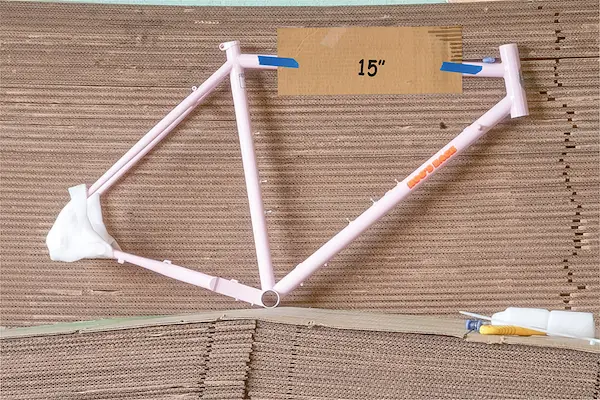
Cardboard method:

  • Measure and cut a piece of cardboard 11-20″ long (the longer, the better).
  • Note the exact length in millimeters.
  • Tape the cardboard flush to the frame, avoiding any key details.
  • Clearly write the measurement on the cardboard with a marker.

Pro Tips:

  • Don’t cover frame corners, bolts, or cable stops.
  • Ensure ruler or tape markings are clear
  • Additionally add paper bill as a scale reference.
Frame Bag Photo Template Guide
Printer paper method. (DSLR / mirrorless prefered method)
Frame Bag Photo Template Guide
Cardboard method. (Phone camera preferred method)
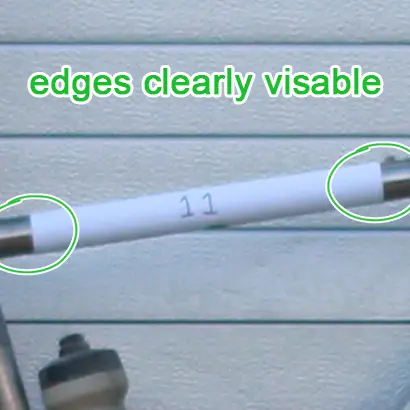
Ends must be tight and flush!

Step 3:

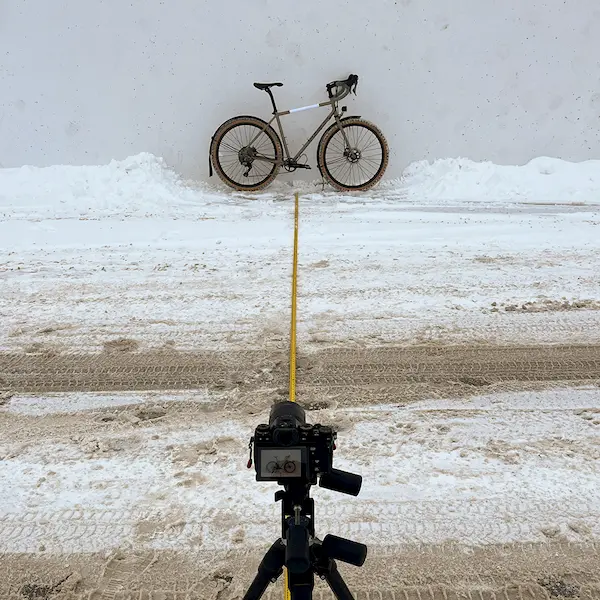
The photo: Set up in a long hallway or against a brightly lit wall outdoors.

Bike setup:

  • Handlebars on the right (driveside)
  • Lean the bike upright against a wall
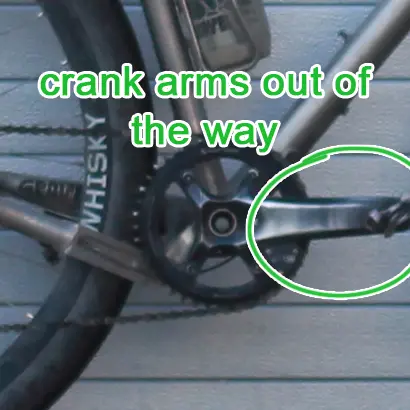
  • Rotate crank arms to 3 & 9 o’clock

Camera setup:

  • Use a DSLR, mirrorless, or high-megapixel smartphone (16MP+)
  • Set image format to RAW or high-quality JPEG
  • Use aperture f/8-16 and a tripod or shutter speed of 1/125
  • Zoom lens recommended; for phones, use the zoom feature
  • Ensure the photo is in landscape orientation
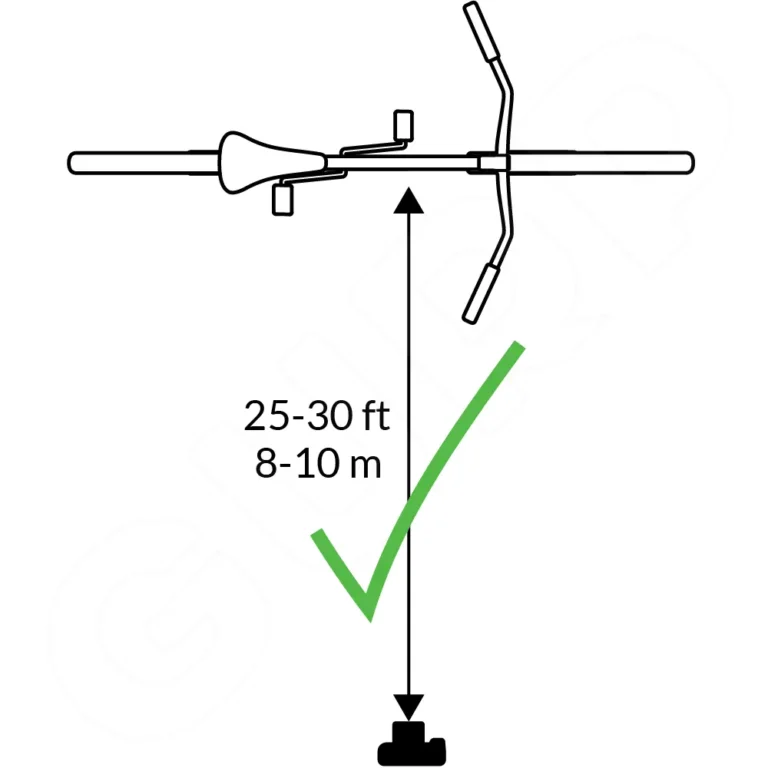
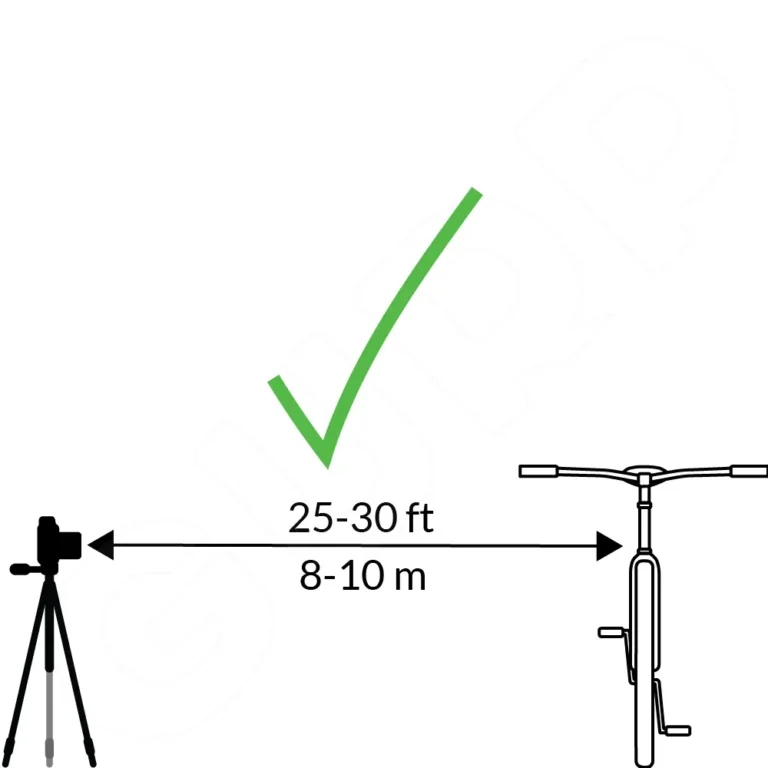
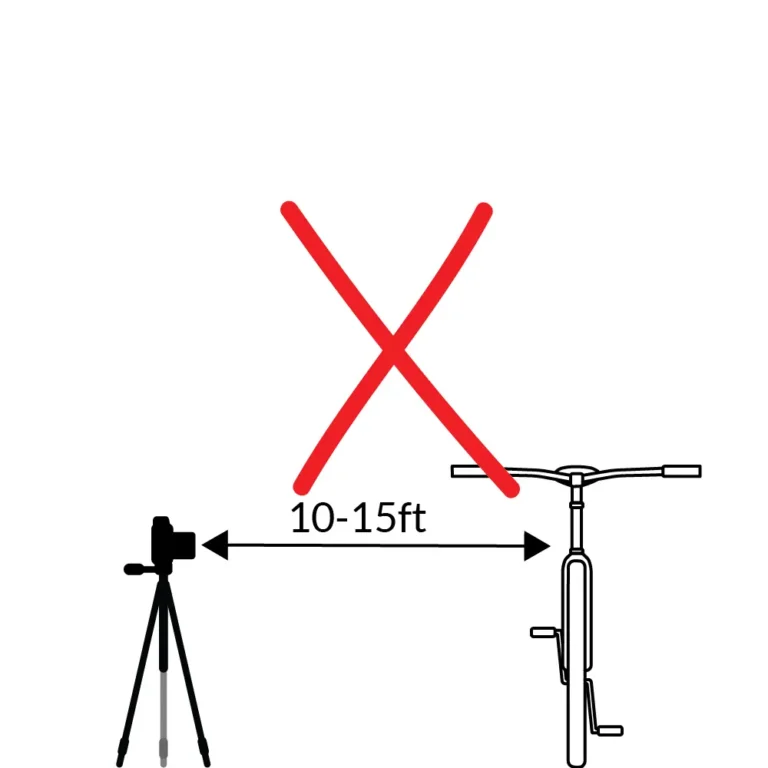
  • Step back 25-30 feet
  • Use a zoom lens if available
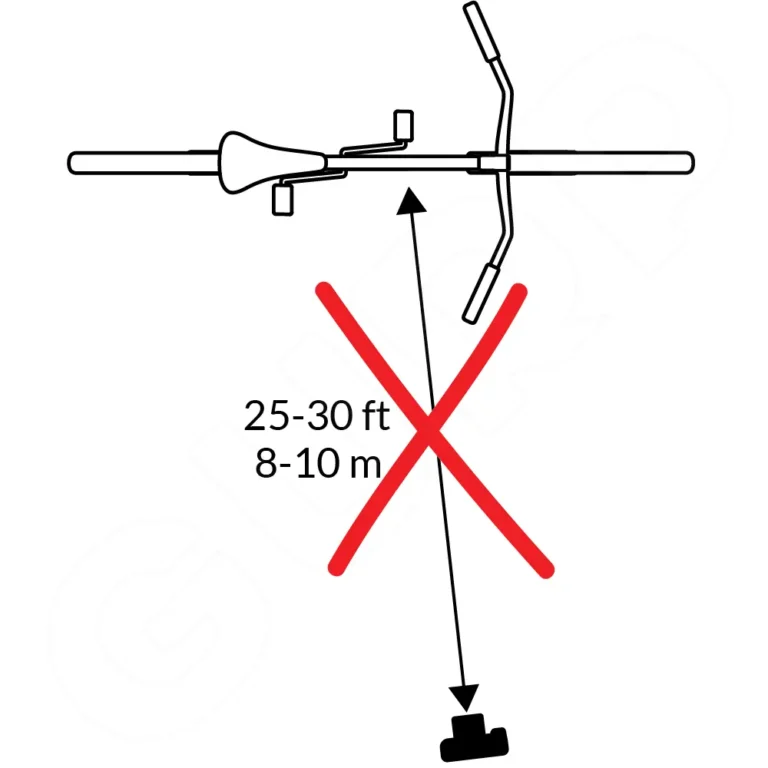
  • Align yourself perpendicular to the center of the frame
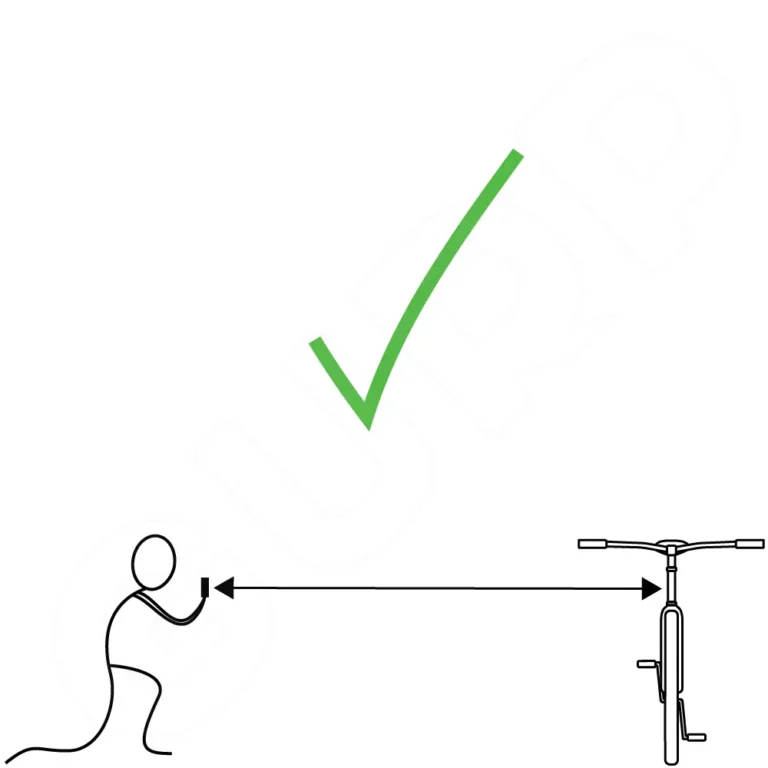
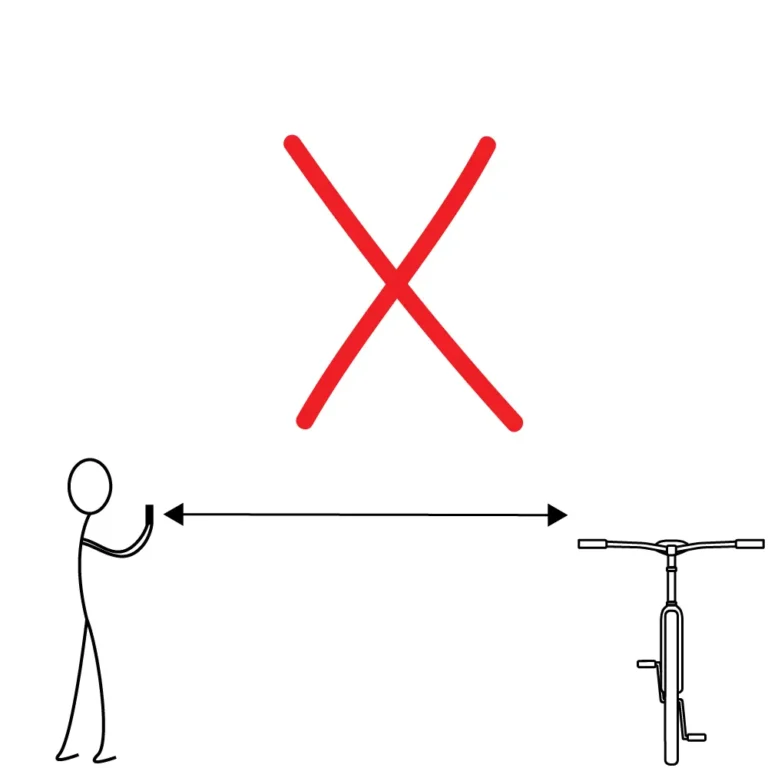
  • Crouch to take the photo at frame level
  • Step back 15 feet
  • Use a zoom lens if available
  • Align yourself perpendicular to the center of the frame
  • Crouch to take the photo at frame level
Frame Bag Photo Template Guide
Camera is set up 25' away and level height with center of the frame. 15' will do with phone camera, but less accurate.
Frame Bag Template Example
Perfect!

Common mistakes to avoid:

(correct) centered / perpendicular
(wrong) shot at a slight angle
(correct) 25-30 feet away
(wrong) too close. 15' will work for phone camera but less accurate
(correct) level / centered
(wrong) too high

Image checklist:

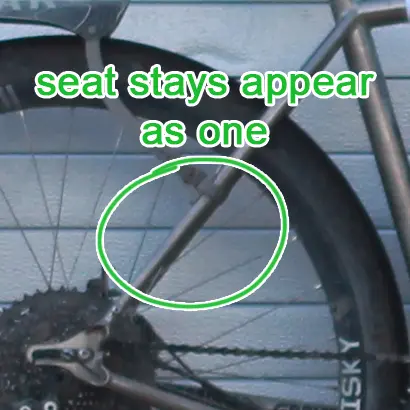
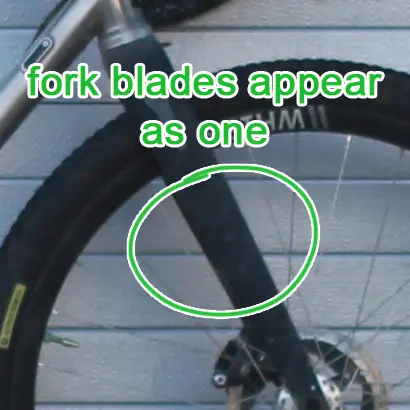
If you’ve followed steps 1, 2, and 3 correctly, the following should be true:

Examples:

Nice job!

Email highest resolution image to [email protected] in landscape orientation with your name, order number, and bike model and size

Join our newsletter!

Get 10% off your first purchase as a thank you for staying in touch

(does not include custom frame bags)